Magic Fountain Mosaic CAL - Part 2
- CrochetHooksandMagic

- Mar 5, 2024
- 2 min read
Welcome to week 2! Keep reading for more tips and tricks on the second part of this CAL and information to help you enjoy this pattern.

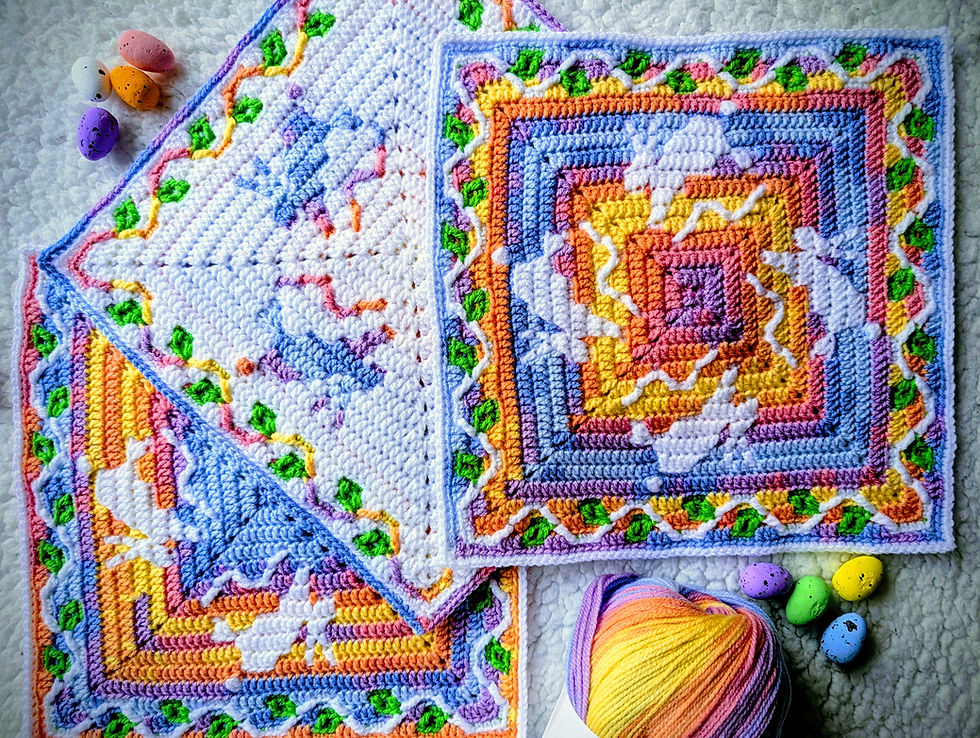
This week, we start seeing some of the base leaves of our Fountain coming through and if you're using a variegated yarn for your MC, you may also see your first colour change coming through.
You'll notice that the written pattern of this part includes stitch instructions stated as 'fldc 2' and also '1 Lfldc, 1 fldc' or '1 fldc, 1 Rfldc' all of these stitch combinations will require you to work 2 sts into the same loop of the stitch 2 rounds below. The difference between them is that 'fldc 2' increases our stitch count and we miss 1 st, whereas the '1 Lfldc, 1 fldc' and '1 fldc, 1 Rfldc' are 2 separate st instructions that do not increase our stitch count. We need both types to continue to grow the circle of our work.

Look out for round 52! You'll find that there are a 'Lfldc2tog' and 'Rfldc2tog' at the start and end of the round that use the front loop of a stitch from round 50 that has a 'blsc 2' worked into it from round 51. For these stitches, the 'blsc 2' should be treated as two separate stitches.
Also be careful of round 62. After you work your first Lfldc2tog, your next 6 blsc need to start in the first st of the 'blsc 2' from round 61. It's easy to miss the first st of the 'blsc 2' and start a stitch too late which will cause counting issues in the round.
Pin for later

You can find the pattern:
If you like this pattern and would like to try more mosaic crochet in the round you can find more patterns:
Enjoy a magical week of crochet, see you next week!
Elisa
X


Comments